NSFW Image-to-Video First-Frame Checklist
Prepare a cleaner first frame for NSFW image-to-video by checking adult context, consent, pose, crop, anatomy, background, lighting, and motion space.
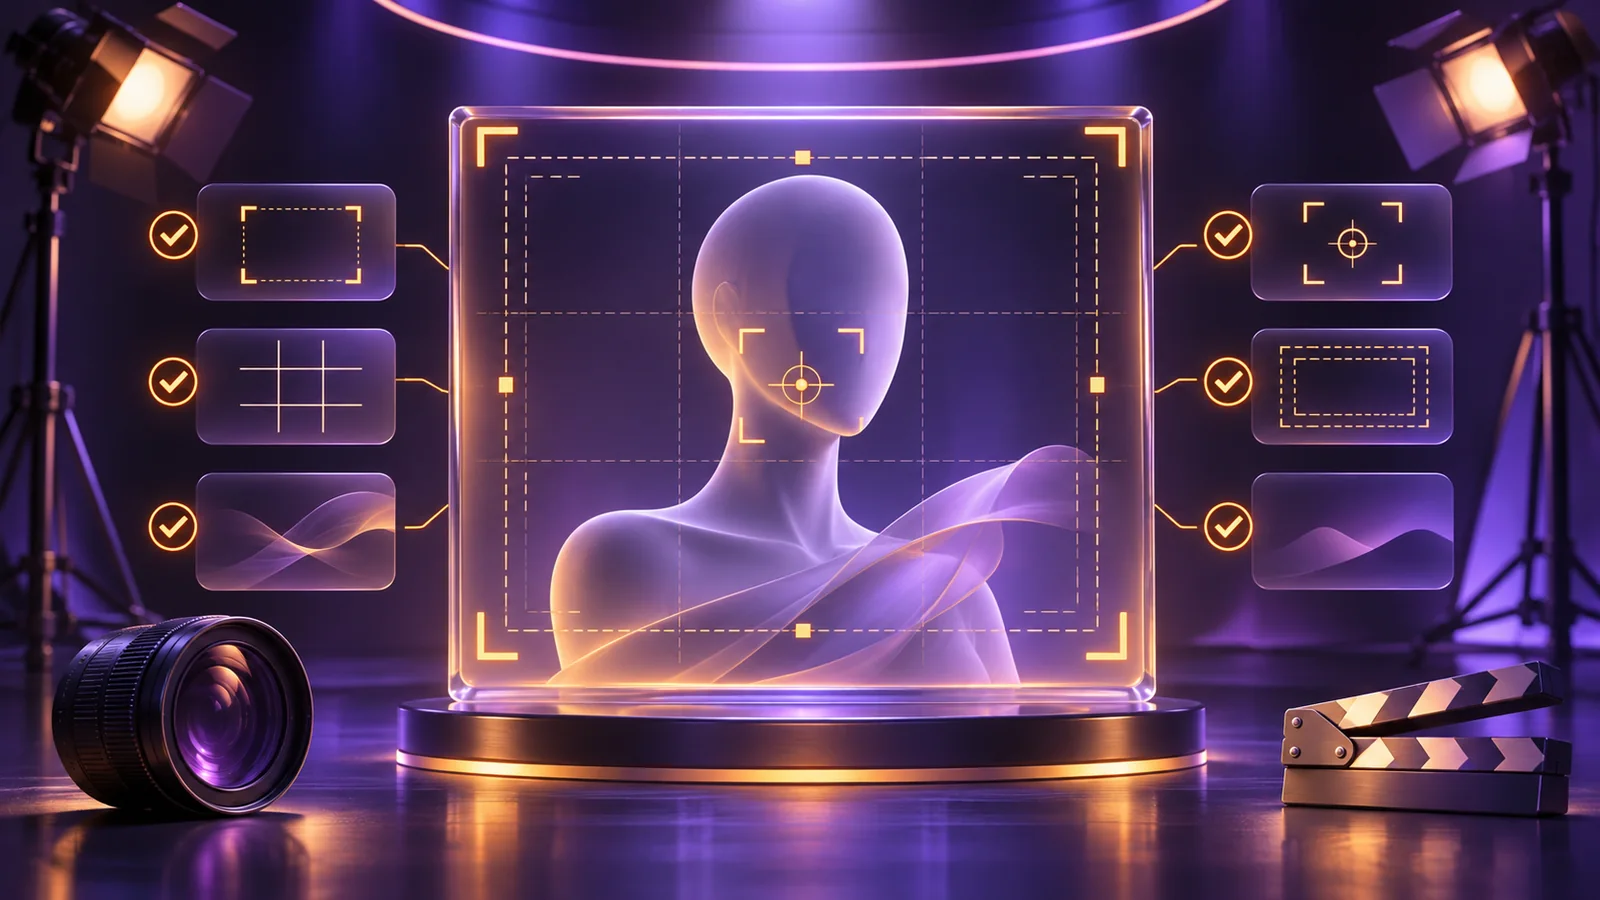
The first frame is the visual contract for an image-to-video generation. It tells the model who and what is in the scene, where objects begin, how the subject is posed, and which lighting and composition should continue into motion.
A motion prompt cannot reliably repair every weakness in the source while also animating it. Use this checklist before spending credits on a video test.
1. Confirm adult context, permission, and policy fit
Every depicted person must be clearly an adult. Use only references you are authorized to use, and do not create non-consensual intimate material or real-person sexual impersonation.
Review the MuseUnbound content policy before uploading. If age, consent, identity rights, or ownership are unclear, do not proceed with the reference.
2. Inspect the frame at full size
Do not judge readiness from a small thumbnail. Open the image at its native size and inspect the regions most likely to change during motion:
- face and hairline;
- hands, fingers, arms, and legs;
- clothing and skin boundaries;
- overlapping objects;
- reflections and mirrors;
- furniture, doors, tiles, and straight background lines.
If two forms are already fused or an edge is unclear in the source, animation can make the problem more visible. Repair the image first with image to image or choose another frame.
3. Match the pose to the intended movement
The starting pose should make the requested movement physically and visually plausible. A subtle head turn works best when the face has room to rotate. A hand movement needs visible separation between fingers, arms, and the body. A camera push-in needs enough source detail to survive the crop.
Ask: what is the next natural moment after this frame? If the answer requires a large pose transition, a new camera angle, and a different background, create a better starting image instead of forcing everything into one short clip.
4. Leave enough room in the crop
Check every edge of the frame. Motion can push a face, hand, limb, or clothing detail outside the crop. A very tight portrait is suitable for small expression or camera changes, but not for wide body movement.
Choose the crop according to the task:
- close-up: expression, eye line, small head movement;
- medium framing: upper-body pose adjustment and restrained camera movement;
- wider framing: larger body motion, provided anatomy and background remain readable.
If the requested movement travels left or right, leave space in that direction.
5. Reduce background conflicts
Background drift is easier to notice when the scene contains many straight lines, repeated patterns, reflections, or objects crossing behind the subject. A complex scene is not automatically unusable, but it needs a more restrained camera and subject action.
Look for:
- lines that pass directly behind the face or hands;
- mirrors that duplicate the subject;
- dense patterns that can ripple;
- small objects that may appear or disappear;
- strong foreground elements that overlap the body.
For the first test, a stable background and one readable depth plane make evaluation easier.
6. Keep lighting readable
The model needs clear information about form. Extreme shadow, clipped highlights, colored light crossing the face, or several conflicting light sources can make identity and surface detail harder to maintain.
Choose a reference where the face and moving body parts are readable. If a lighting change is part of the intended clip, keep it secondary to the main movement and describe it as a gradual change.
7. Use a supported reference format
The current MuseUnbound creation interface accepts JPEG, PNG, and WebP reference images. If the file is unusually large, the interface may prepare it for upload. Always inspect the preview to confirm that the correct frame was selected.
Avoid using a screenshot with browser controls, text overlays, watermarks you do not own, or multiple unrelated frames assembled into one image.
8. Define one pass/fail result
Before generating, write a simple acceptance check. For example:
- the subject completes one slow head turn while identity remains recognizable;
- the camera moves forward without bending the background;
- the pose shifts slightly while hands and clothing boundaries remain coherent.
This turns the output review into a decision. If the test fails, you can identify whether the source, prompt, duration, or model should change.
9. Start with a focused diagnostic run
MuseUnbound currently offers 5-15 second image-to-video durations and 768P or 1080P in the creation interface. Start with the shortest duration that can show the intended action. Review the displayed credit estimate before starting.
Use the same frame for the next test and change only one prompt instruction. If the source itself is the problem, replace it before spending more credits on prompt variations.
Ready-to-generate checklist
The frame is ready when:
- all people are clearly adults and the reference is authorized;
- the subject, face, hands, and important edges are readable;
- the pose can naturally continue into one short movement;
- the crop leaves room in the direction of motion;
- the background is stable enough for the planned camera behavior;
- the lighting reveals the details that need to remain consistent;
- the file is JPEG, PNG, or WebP;
- the clip has one clear acceptance test.
Next, use the guide to writing an image-to-video motion prompt, then open NSFW image to video when the frame and direction are ready.